How to easily assemble the foundation
Andreas Lindberg / 2 min reading / Foundation
All houses start with the foundations, whether it's a tool shed on a few hundred square feet or a two-storey villa. Something that also applies to all buildings is that if you neglect the foundations, it's not possible to save the situation by building a great house. The fundamentals are kind of… fundamental.
If you encounter problems along the way, we suggest that you contact our construction experts who can guide you through the difficulties. But here's a general description of how to go about it, from idea to finished foundation.
Choose the right spot
Start by choosing the spot with care. Preferably a high point with stable ground, but at the very least, the soil should have good drainage. In practice, you want to build in a sensible - a garage should be by the road, a porch should face south and a gazebo should have the best view. But don't choose a muddy puddle where there's an underground stream, as that just leads to unnecessary setbacks
Prepare the ground
The better the spot you choose, the easier it will be. The goal is to choose as dry a surface as possible to avoid moisture penetrating from below. First dig away the top layer of soil and replace it with gravel, on a slightly larger surface than that of the house. Flowers right next to the house might be beautiful, but aren't very practical..
Choose the type of foundation
You probably began thinking about this long before you took the first step, but now is the time for the actual decision. Here are the four most common options.
Concrete slab
This is the most advanced solution, and an option for a summer house and possibly a garden house too. In the world of garden rooms, it can come at a real premium to have a concrete foundation, and in even smaller buildings it's definitely overkill.
With the help of Styrofoam elements, you build a kind of swimming pool that you fill with concrete after you have installed pipes for water, sewage, electricity and any underfloor heating.
Your local DIY shop can help you with the right elements and dimensions based on the drawing of the house.
It's usual to book a concrete mixer when the preparations are ready. This is because if you want to fill the foundation with concrete from your own mixer, you have to set aside a lot of time and be prepared to carry concrete bags until you drop. Another solution is to get a company with experience of concrete slabs to make the entire slab, because here the costs can snowball if you don't get everything right on the first try.
Prefabricated concrete plinths
A much simpler alternative to the concrete slab is to settle for a number of attachment points in the form of concrete supports (or feet). The supports can be bought ready-made and dug into the ground. Measure with strings and spirit level or a laser to get them in the right place and height. To make it easier for you, we've developed a proposed concrete support plan for almost all our houses. It's a drawing that shows you where to place the supports - nice and easy!
Home-made concrete supports
Concrete supports can also be cast well on site. One suggestion is to use concrete form tubes that are buried and filled with concrete that is allowed to solidify, or 'burn' as they say. It takes some time to cast your own supports, but can be cheaper than buying prefabricated ones. In addition, the cardboard tubes are easier to handle than thick concrete supports that can't be put directly into the roof box of a company car.
Foundation blocks
For small houses, you might not even need supports. Especially for playhouses and smaller garden sheds, it's easier to just lay masonry blocks on the ground. However, even with these you need to measure correctly, so that they end up in the right place and height.
With the exception of the concrete slab alternative, wood studs, so-called support beams, are then laid to connect the attachment points, preferably pressure-impregnated joists with the dimensions 45x90 mm (1.8x3.5 inches). Then all that's left is to 'just' build a house on top of that construction.
Good luck!
The best way to get started - our guide!
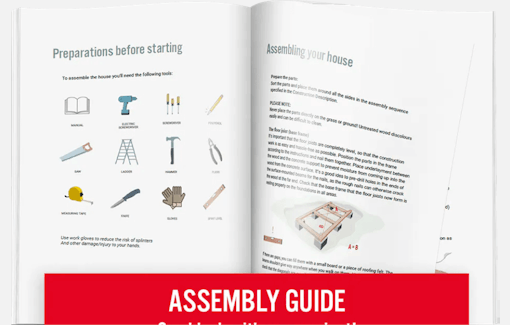
The best way to get started - our guide!
The assembly guide contains valuable tips and advice from our construction experts. A good base and a manual for those who plan to assemble the house themselves. We walk you through what’s important to consider before starting construction, the foundation options our experts recommend, and how the assembly works.
Read all about this and much more in our guide. We will send the assembly guide free of charge to your email. Good luck with your project!


